Deploying EasyNav on a Real iCreate3 Robot
This HowTo explains how to deploy the Costmap Stack of EasyNavigation (EasyNav) on a real iRobot iCreate3 robot, using a Raspberry Pi 4 as on-board computer and ROS 2 Kilted. It is based on the same workflow as the Simple Stack tutorials but adapted for real hardware with a graded Costmap2D environment representation.
Setup
Before starting, ensure that:
You have completed the EasyNav installation steps in Build & Install.
You have a workspace on the Raspberry Pi (for example
~/easynav_ws) and it is sourced correctly.The following repositories are cloned inside your
src/folder:EasyNavigationeasynav_pluginseasynav_indoor_testcase(for maps and configuration examples)easynav_costmap_stack(for the costmap-based stack)sllidar_ros2(LIDAR driver)
Your robot and laptop can communicate over the same Wi-Fi network.
—
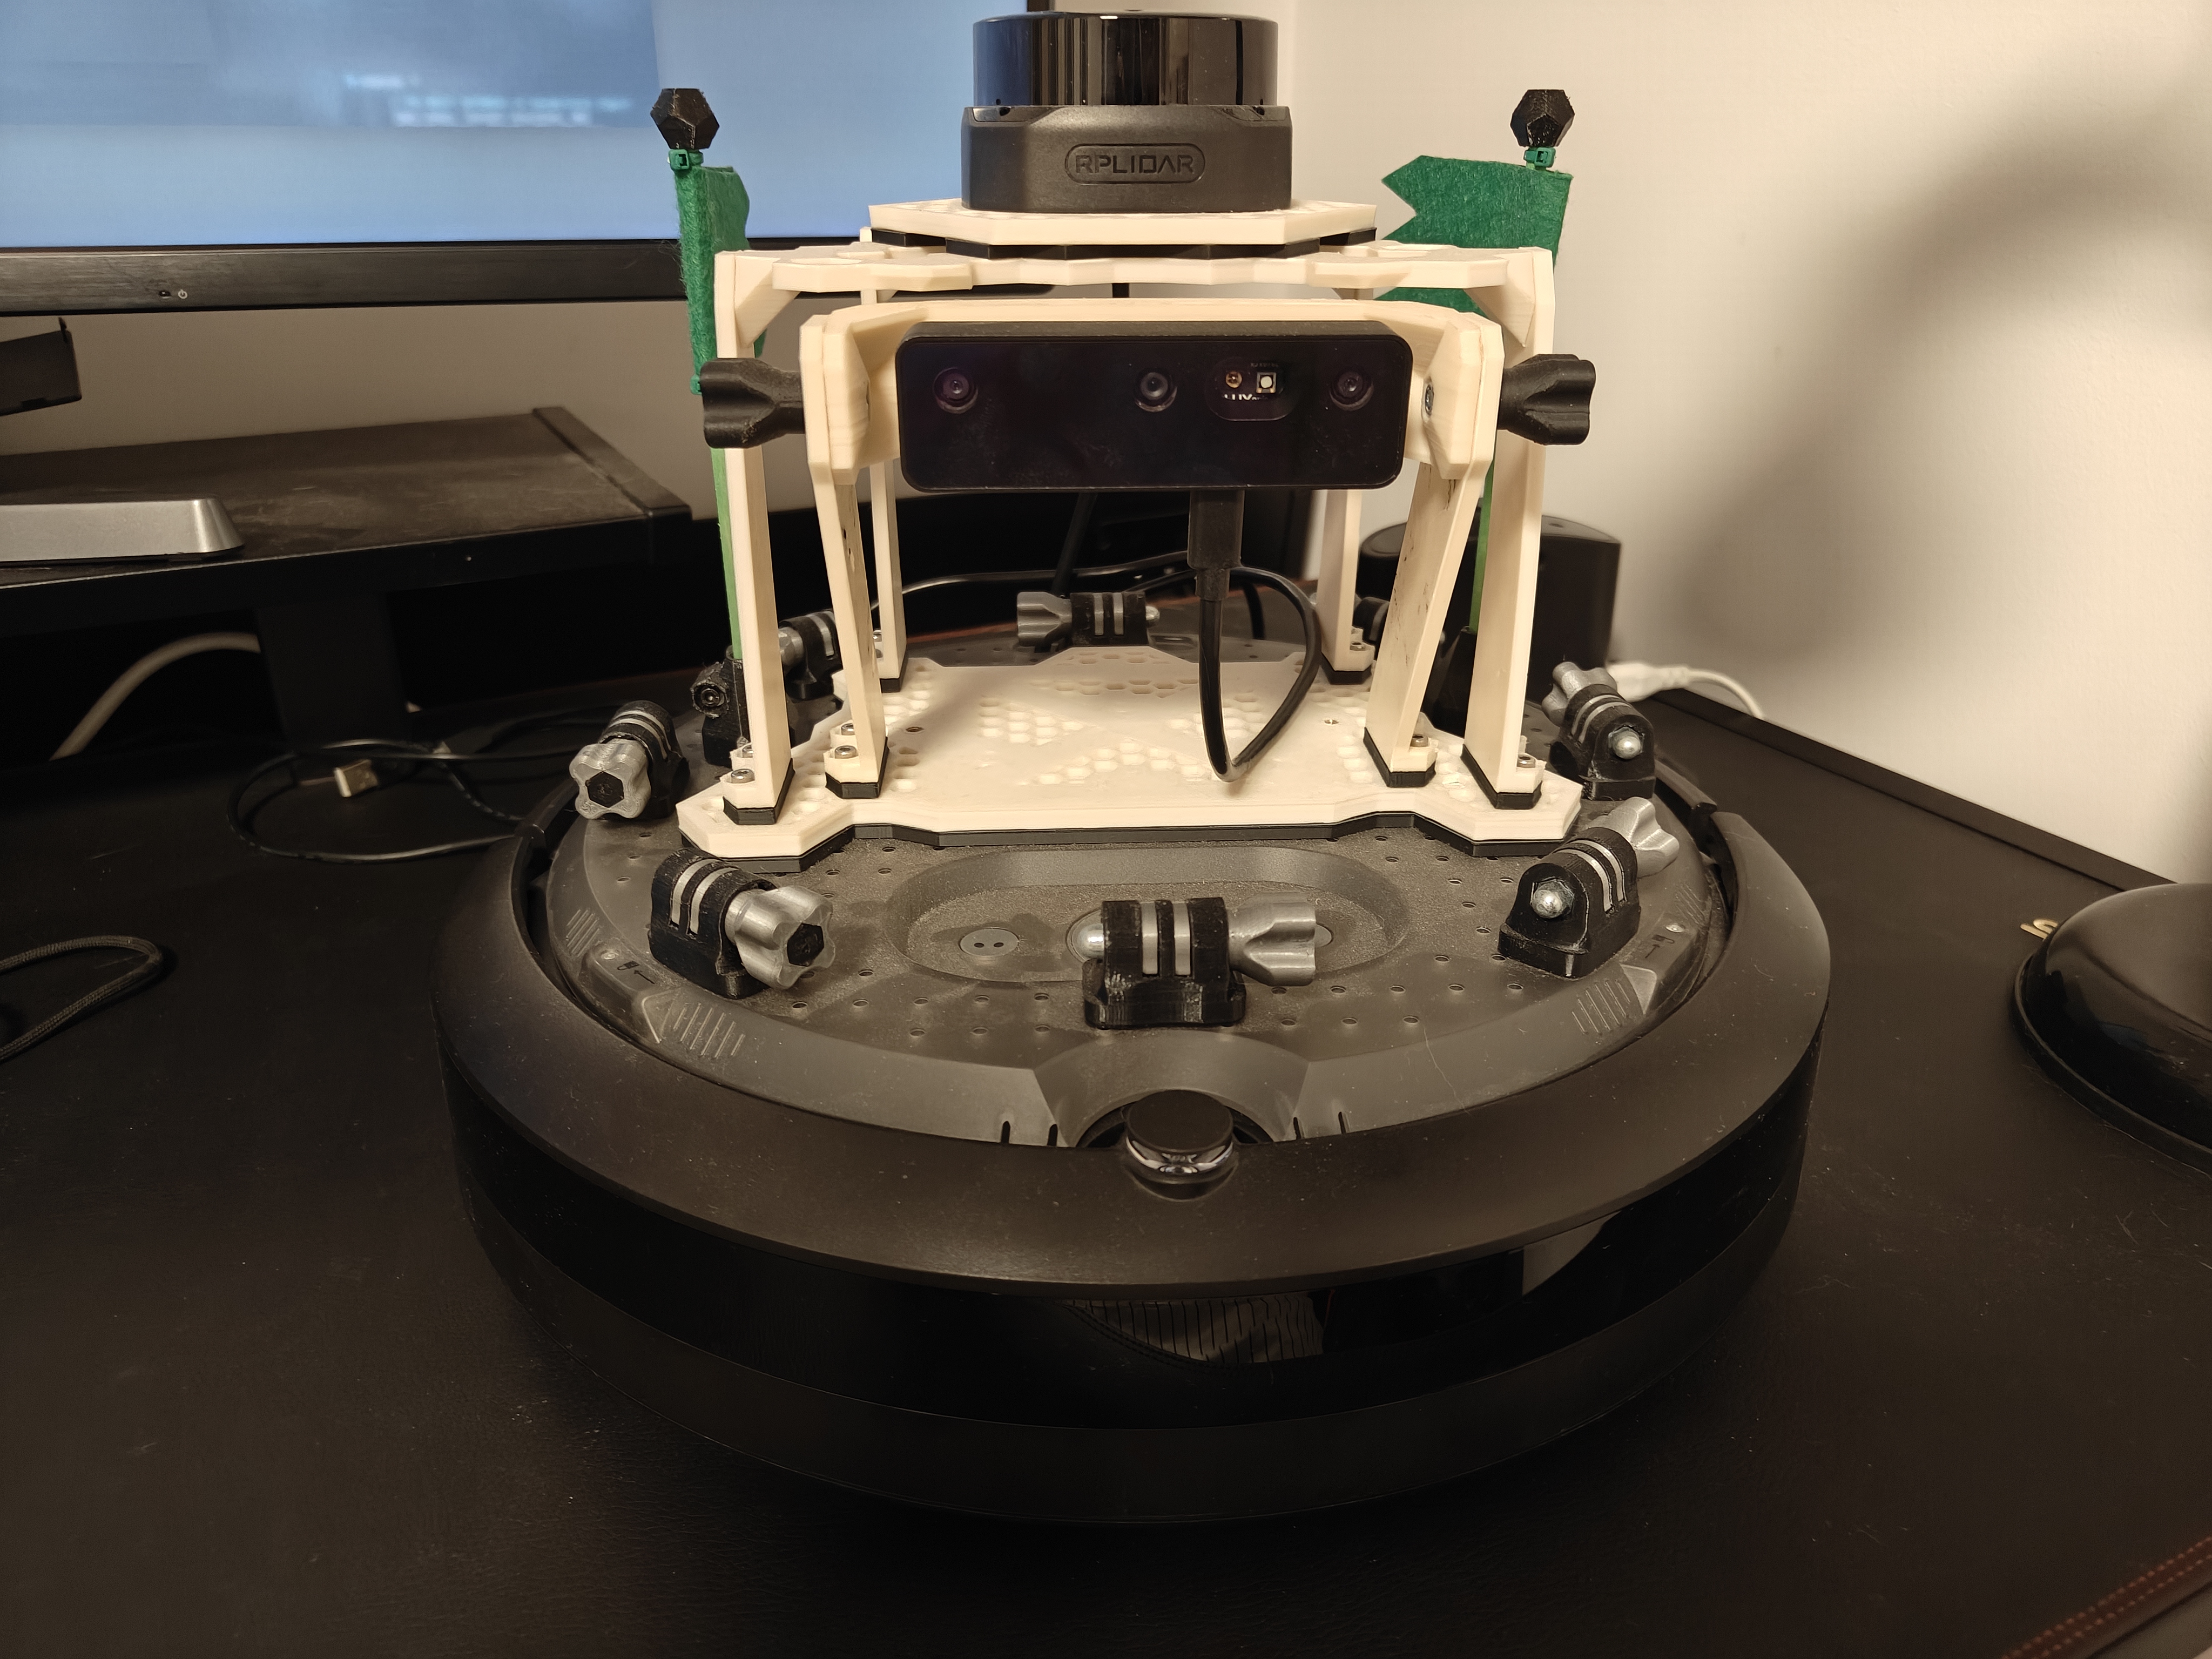
Hardware Setup
Note
The overall workflow mirrors the one in the Simple Stack tutorials, but here you will run on real hardware. The navigation stack represents the environment as a graded Costmap2D.
Base: iRobot iCreate3 Follow the vendor instructions to connect to Wi-Fi and update firmware. We used the latest ROS 2 Iron firmware with FastDDS: https://edu.irobot.com/create3-latest-fw
Laser: RPLidar S2 mounted on top of the base.
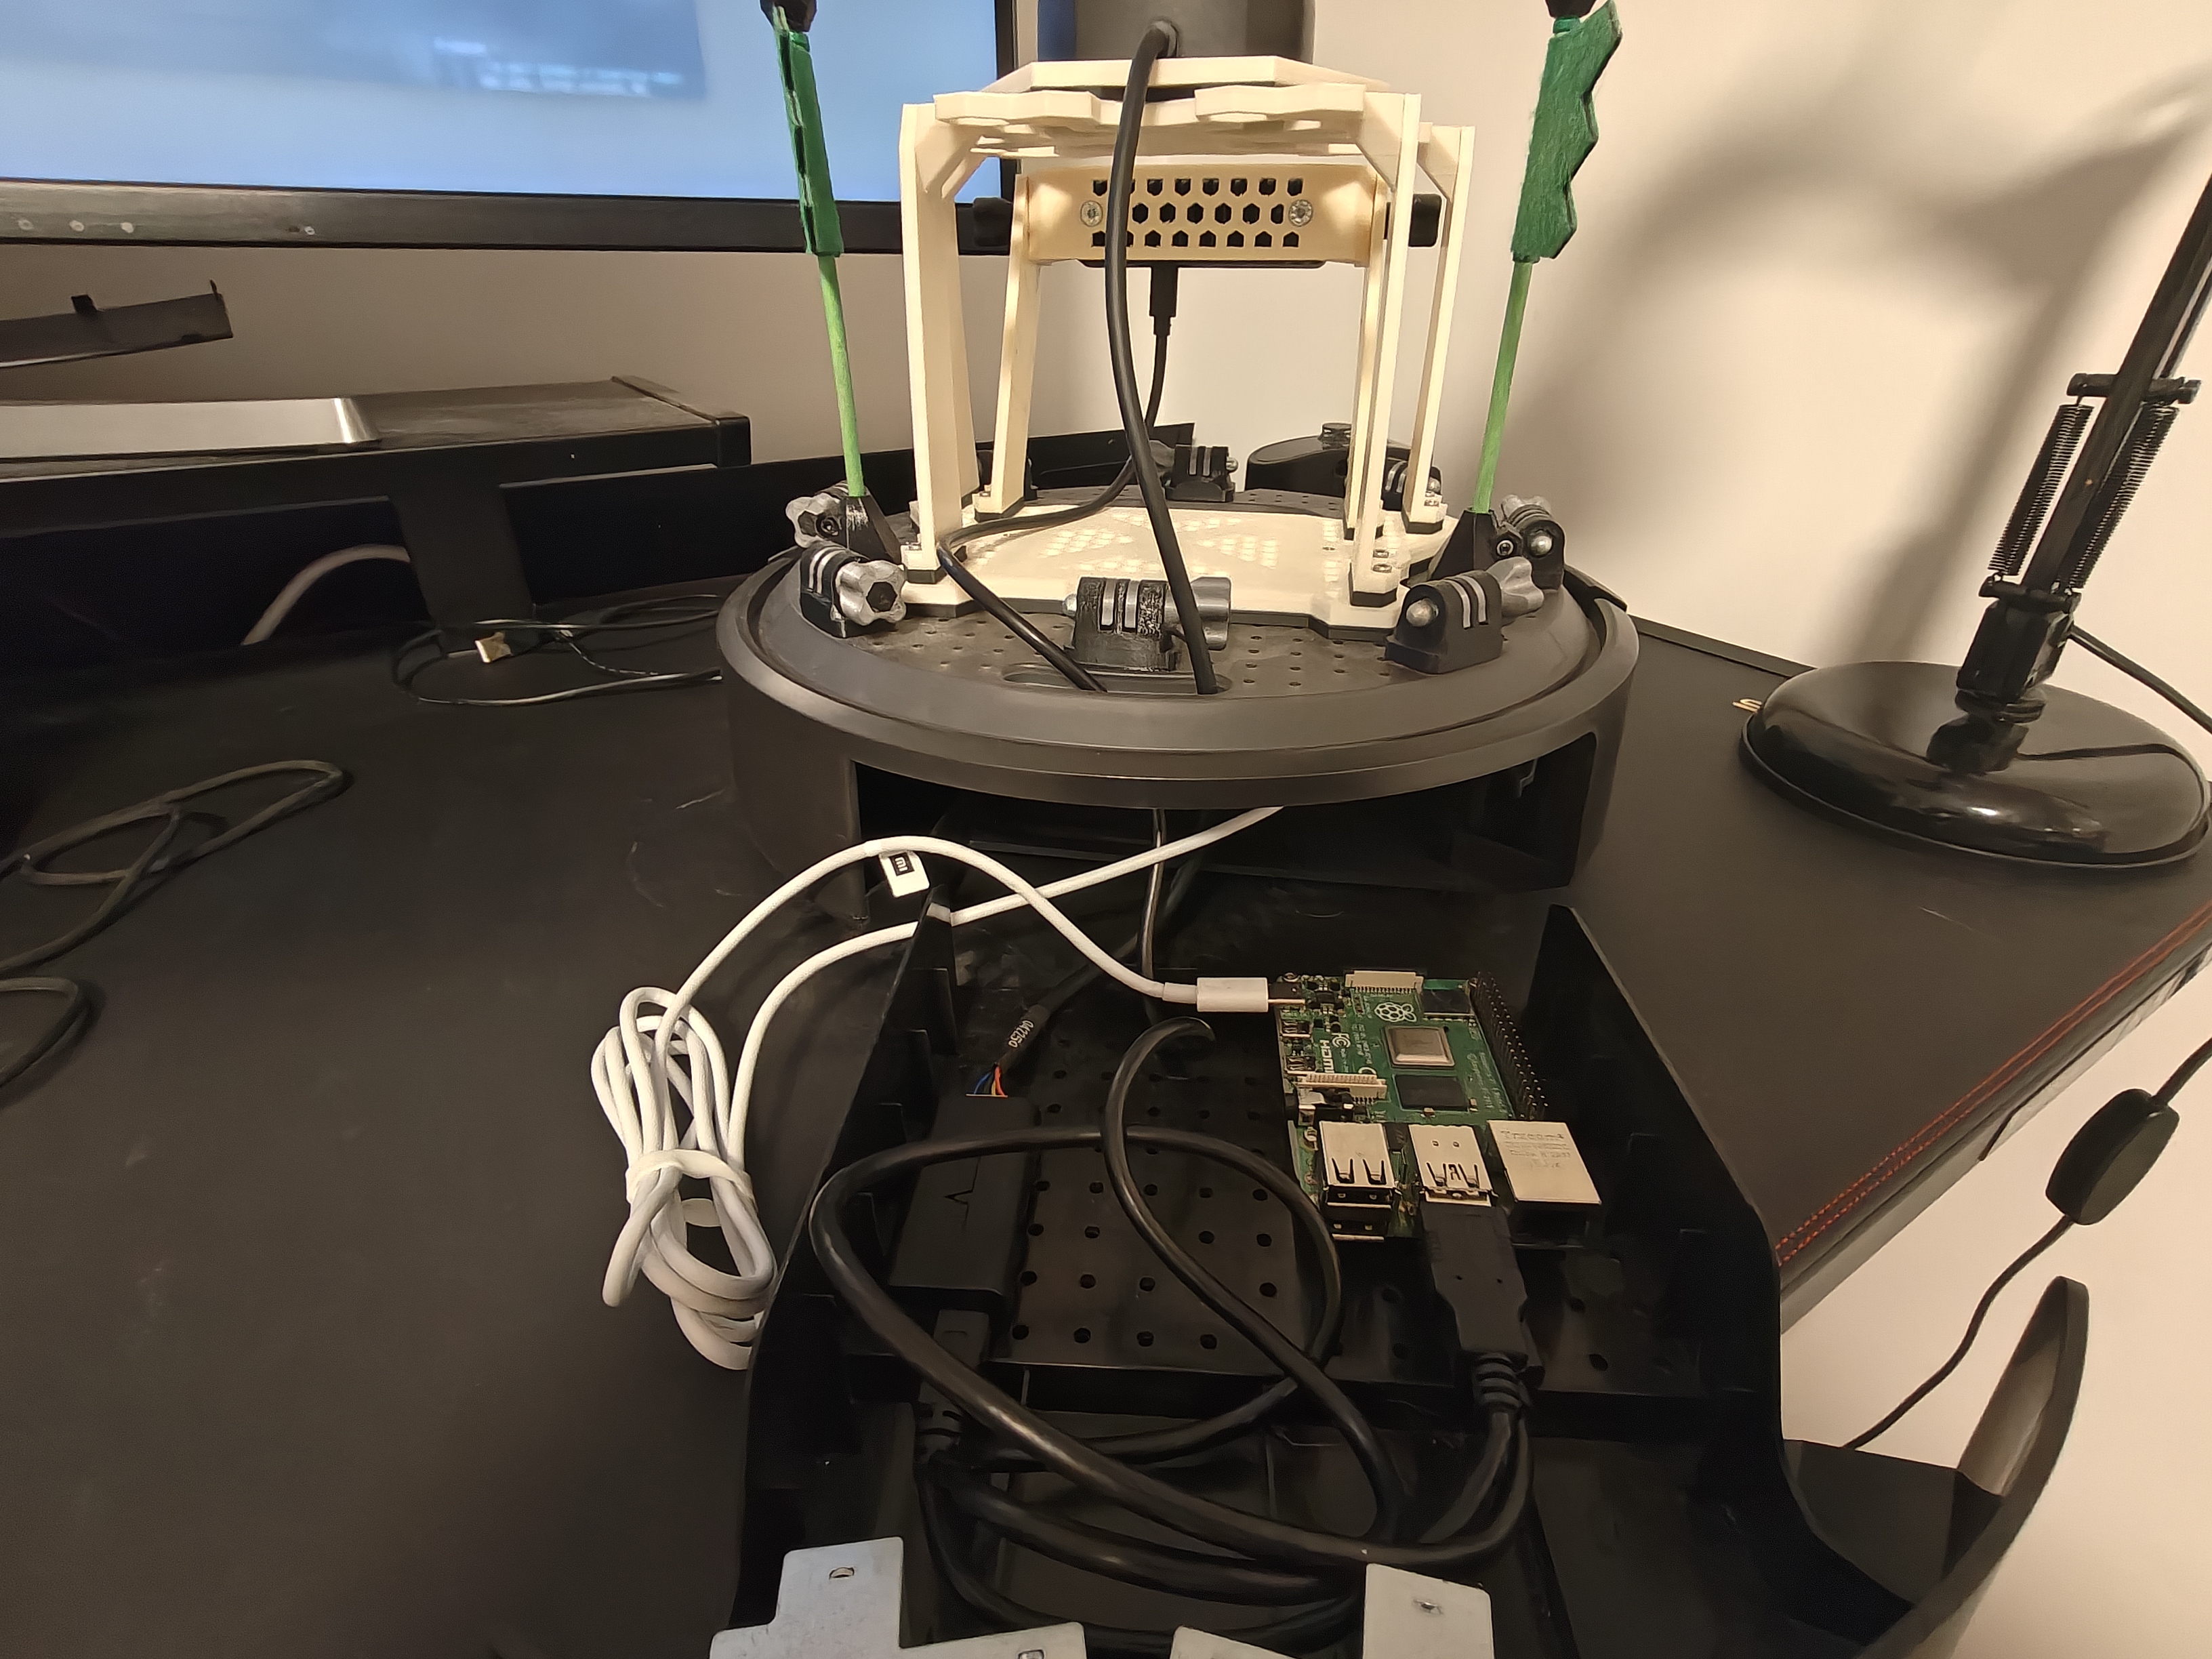
On-board computer: Raspberry Pi 4 Model B powered from the base via USB-C. Ethernet-over-USB-C was not available, so communication occurs over Wi-Fi. The LIDAR connects via USB. The Raspberry Pi runs Ubuntu 24.04 Desktop and ROS 2 Kilted.
Operator laptop: Runs
rviz2and connects to the Raspberry Pi via SSH to launch processes.
—
ROS 2 Setup on the Raspberry Pi
Follow the official ROS 2 Kilted installation steps: https://docs.ros.org/en/kilted/Installation/Ubuntu-Install-Debs.html
Quick summary:
Enable the universe repository:
sudo apt install -y software-properties-common
sudo add-apt-repository -y universe
Configure ROS 2 APT repositories:
sudo apt update && sudo apt install -y curl
export ROS_APT_SOURCE_VERSION=$(curl -s https://api.github.com/repos/ros-infrastructure/ros-apt-source/releases/latest | grep -F "tag_name" | awk -F\" '{print $4}')
curl -L -o /tmp/ros2-apt-source.deb "https://github.com/ros-infrastructure/ros-apt-source/releases/download/${ROS_APT_SOURCE_VERSION}/ros2-apt-source_${ROS_APT_SOURCE_VERSION}.$(. /etc/os-release && echo $VERSION_CODENAME)_all.deb"
sudo dpkg -i /tmp/ros2-apt-source.deb
Install development tools and ROS 2 Desktop:
sudo apt update && sudo apt install -y ros-dev-tools
sudo apt upgrade -y
sudo apt install -y ros-kilted-desktop
Install additional packages:
sudo apt install -y openssh-server \
    ros-kilted-rplidar-ros \
    ros-kilted-depthai ros-kilted-depthai-ros ros-kilted-depthai-ros-driver ros-kilted-depthai-bridge \
    ros-kilted-slam-toolbox \
    ros-kilted-rmw-zenoh-cpp ros-kilted-zenoh-cpp-vendor \
    ros-kilted-tf2-ros ros-kilted-tf2-py ros-kilted-tf2-tools \
    ros-kilted-irobot-create-msgs
—
Mapping
Verify that both the laptop and the Raspberry Pi can see the iCreate3 topics:
ros2 topic list
You should see topics such as
/odom,/tf,/tf_static,/battery_stateand others published by the base.Publish a static transform from the base to the laser:
ros2 run tf2_ros static_transform_publisher \
  --x 0.02 --z 0.22 --yaw 3.14 \
  --frame-id base_link --child-frame-id laser
Keep this process running during mapping and navigation.
Start the laser driver:
ros2 launch sllidar_ros2 sllidar_s2_launch.py
Place the robot at the desired origin (
0, 0) and start SLAM Toolbox:ros2 launch slam_toolbox online_async_launch.py
On the laptop, open RViz2:
rviz2
Start teleoperation to drive the robot while mapping:
ros2 run teleop_twist_keyboard teleop_twist_keyboard
When the map is complete, save it:
ros2 service call /slam_toolbox/save_map slam_toolbox/srv/SaveMap
Store the generated
.yamland image file (.pgm/.png) under~/easynav_ws/src/easynav_indoor_testcase/maps. If you rename the map, ensure the YAML’s image field matches.
Tip
To reset the odom → base_footprint transform on iCreate3, call:
ros2 service call /reset_pose irobot_create_msgs/srv/ResetPose
—
Notes
In the maps manager, filter plugin types must match the full class names:
easynav_costmap_maps_manager/ObstacleFilterandeasynav_costmap_maps_manager/InflationFilter.The Costmap Planner supports parameters such as
cost_factor,cost_axial,cost_diagonal,inflation_penaltyandcontinuous_replan. Adjust these values to fine-tune planning behavior for your environment.