Deploying EasyNav on a Real iCreate3 Robot
This HowTo explains how to deploy the Costmap Stack of EasyNavigation (EasyNav) on a real iRobot iCreate3 robot, using a Raspberry Pi 4 as on-board computer and ROS 2 Kilted. It follows the workflow of Mapping with the Costmap Stack and Navigating with the Costmap Stack, adapted for real hardware, with a graded Costmap2D environment representation.
Note
This guide was written for ROS 2 Kilted on Ubuntu 24.04 (the Raspberry Pi’s OS), with EasyNav built from source (see Install from source).
Setup
Before starting, ensure that:
You have completed the EasyNav installation steps in Build & Install.
You have a workspace on the Raspberry Pi (for example
~/easynav_ws) and it is sourced correctly.The following repositories are cloned inside your
src/folder:EasyNavigation,easynav_plugins,NavMapandyaets(see Install from source)sllidar_ros2(LIDAR driver)a package of your own for the robot’s maps and parameter file (
my_robot_easynavbelow)
Your robot and laptop can communicate over the same Wi-Fi network.
—
Hardware Setup
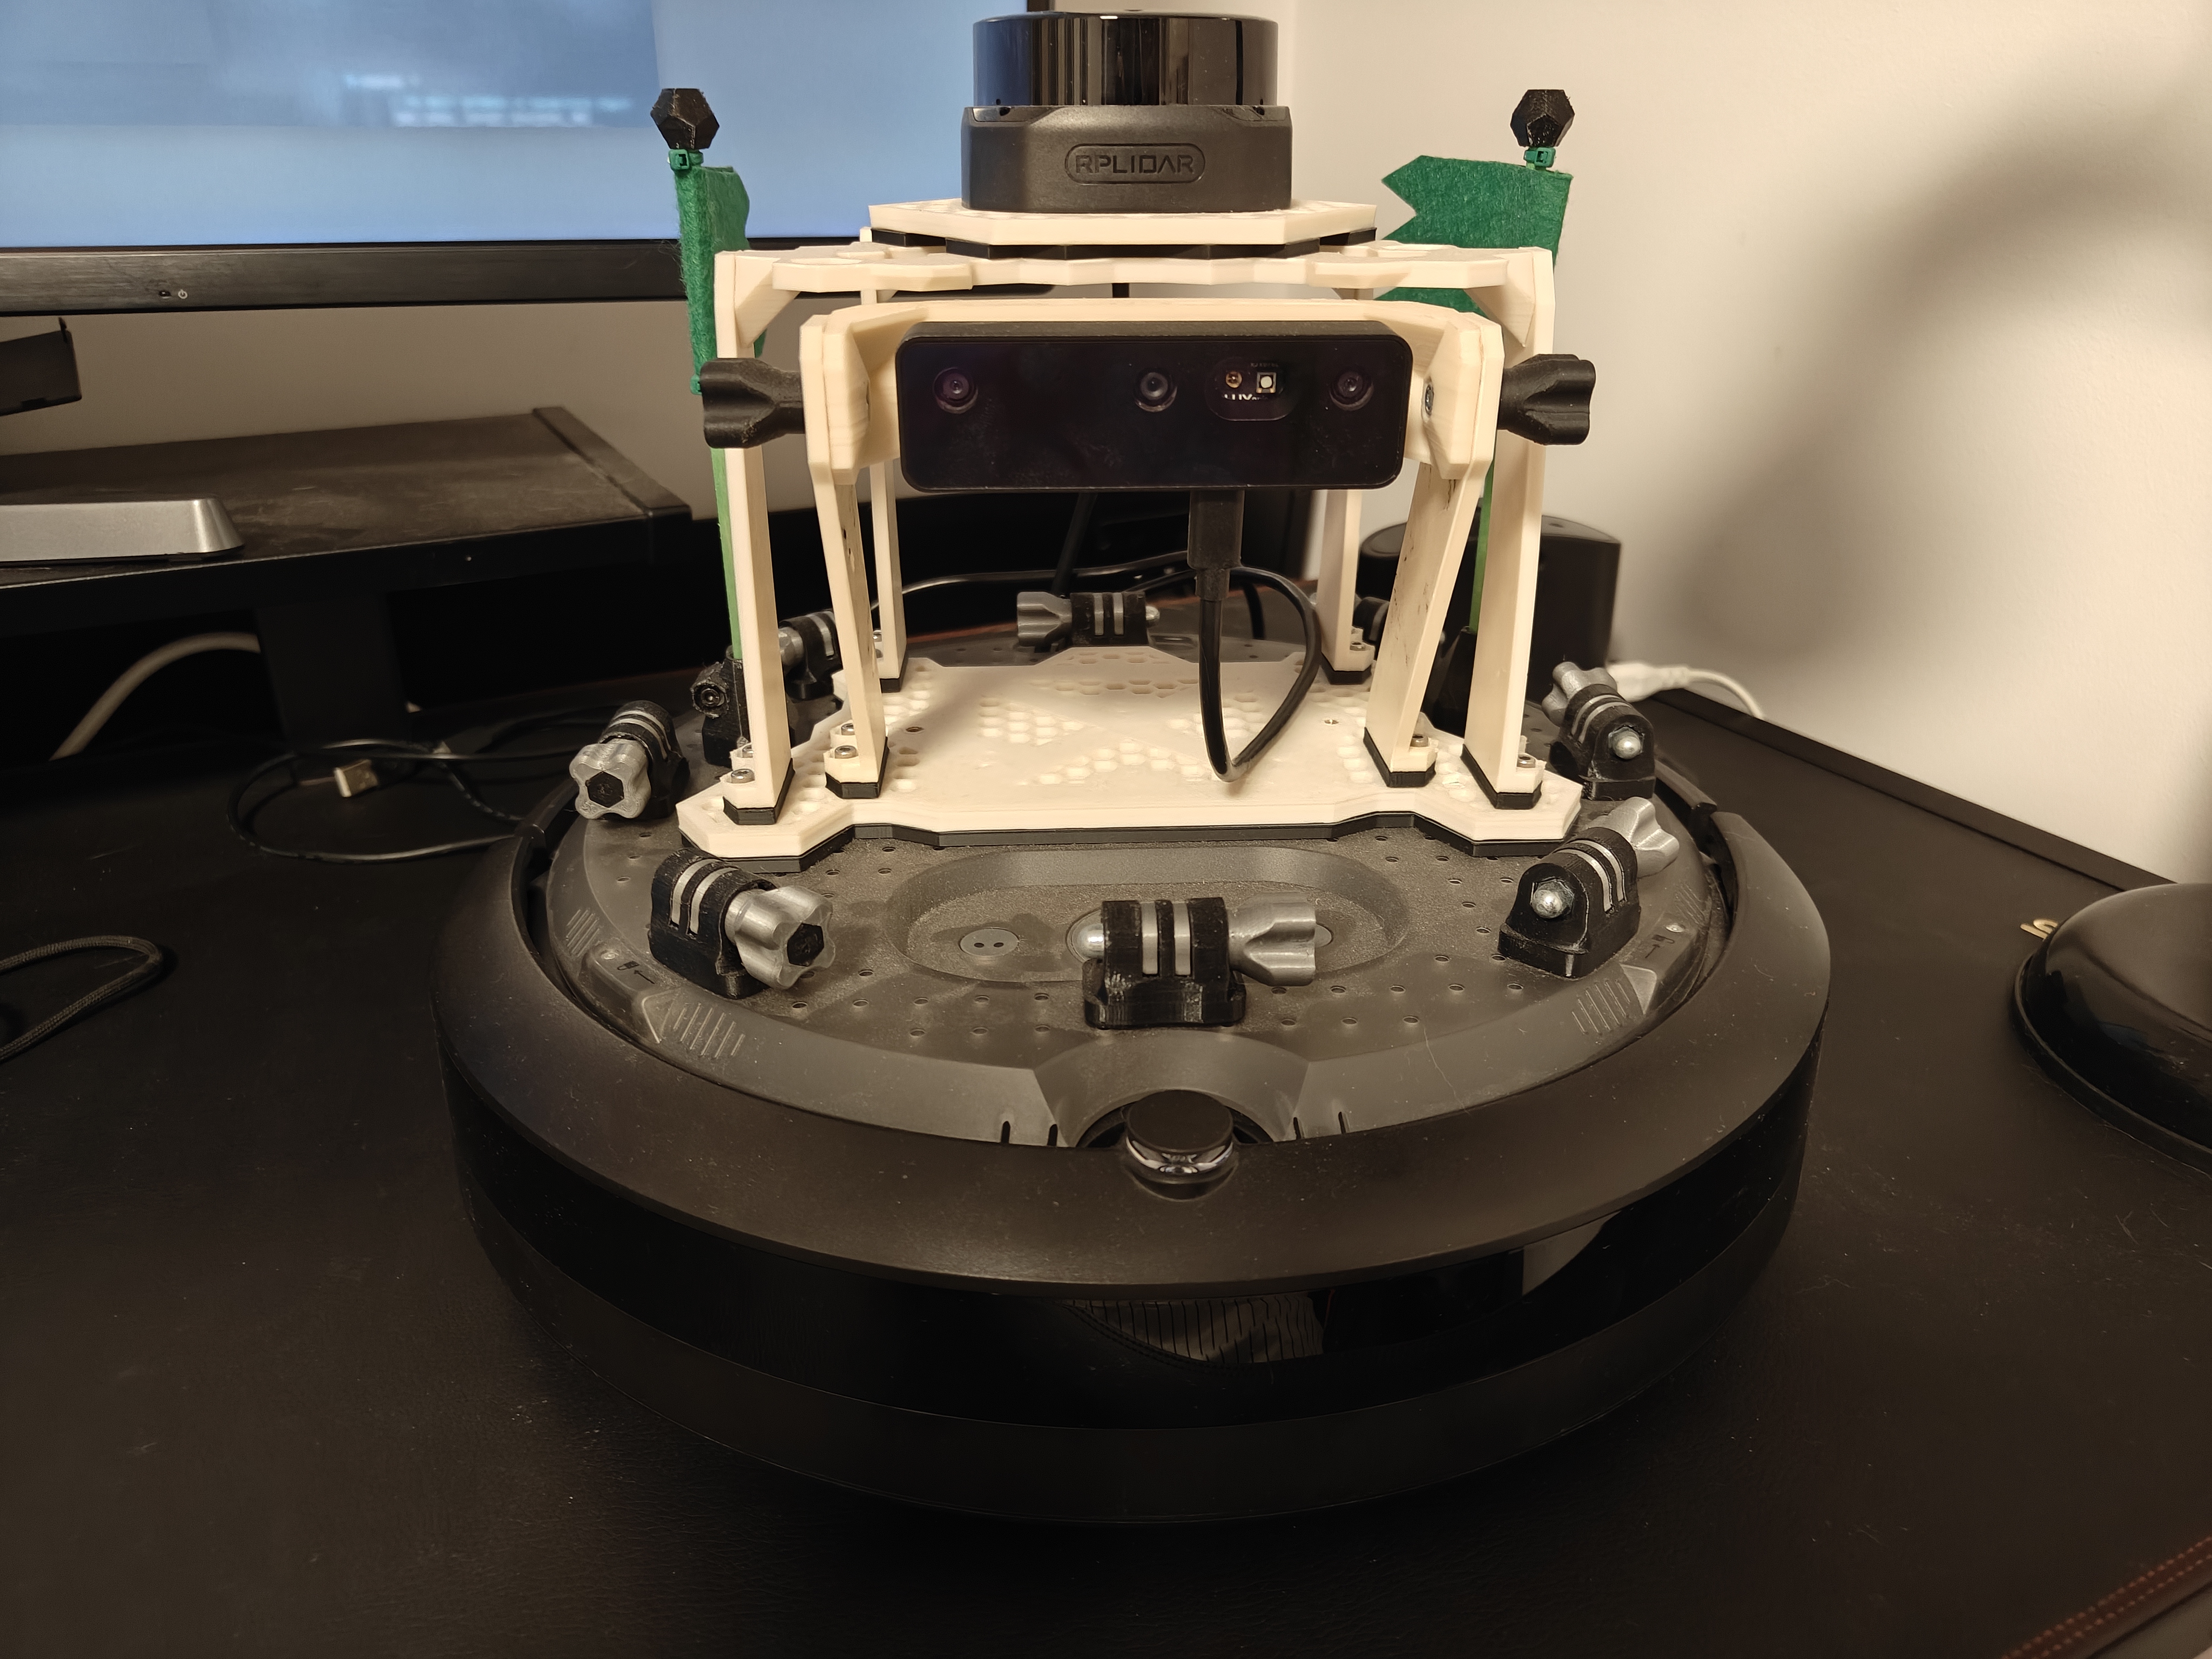
Note
The overall workflow mirrors Mapping with the Costmap Stack and Navigating with the Costmap Stack, but here you will run on real hardware. The navigation stack represents the environment as a graded Costmap2D.
Base: iRobot iCreate3 Follow the vendor instructions to connect to Wi-Fi and update firmware. We used the latest ROS 2 Iron firmware with FastDDS: https://edu.irobot.com/create3-latest-fw
Laser: RPLidar S2 mounted on top of the base.
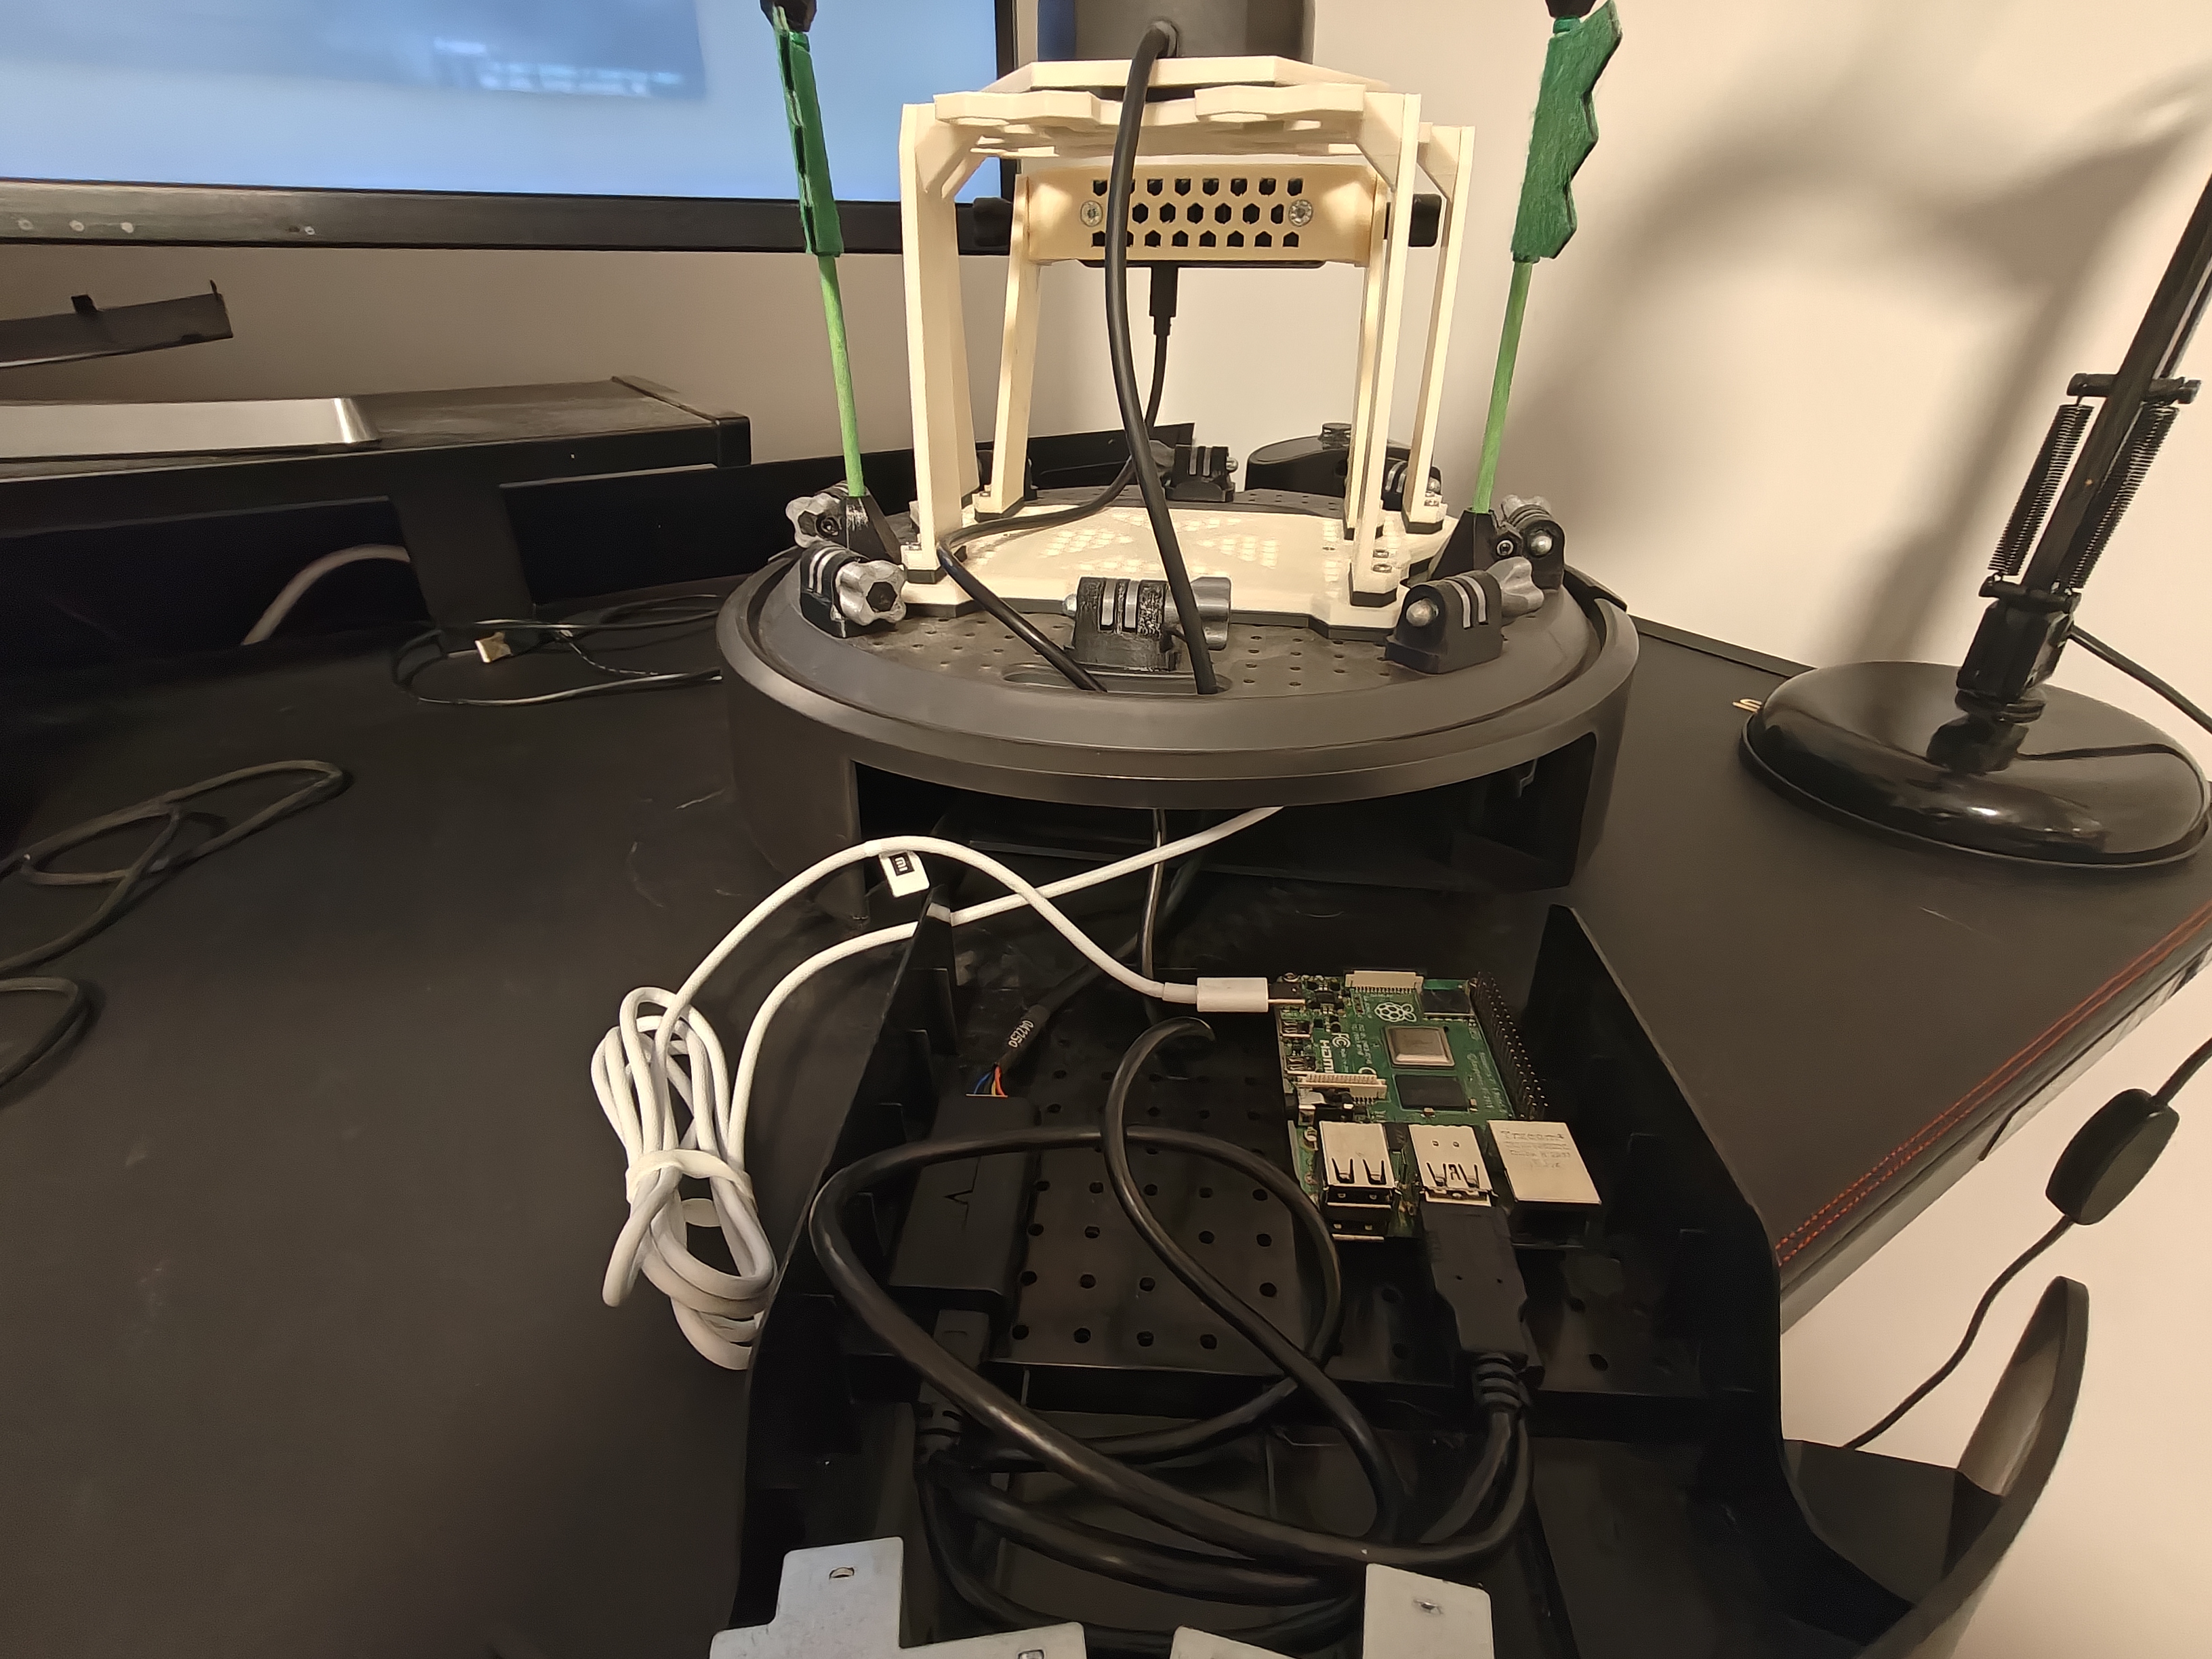
On-board computer: Raspberry Pi 4 Model B powered from the base via USB-C. Ethernet-over-USB-C was not available, so communication occurs over Wi-Fi. The LIDAR connects via USB. The Raspberry Pi runs Ubuntu 24.04 Desktop and ROS 2 Kilted.
Operator laptop: Runs
rviz2and connects to the Raspberry Pi via SSH to launch processes.
—
ROS 2 Setup on the Raspberry Pi
Follow the official ROS 2 Kilted installation steps: https://docs.ros.org/en/kilted/Installation/Ubuntu-Install-Debs.html
Quick summary:
Enable the universe repository:
sudo apt install -y software-properties-common
sudo add-apt-repository -y universe
Configure ROS 2 APT repositories:
sudo apt update && sudo apt install -y curl
export ROS_APT_SOURCE_VERSION=$(curl -s https://api.github.com/repos/ros-infrastructure/ros-apt-source/releases/latest | grep -F "tag_name" | awk -F\" '{print $4}')
curl -L -o /tmp/ros2-apt-source.deb "https://github.com/ros-infrastructure/ros-apt-source/releases/download/${ROS_APT_SOURCE_VERSION}/ros2-apt-source_${ROS_APT_SOURCE_VERSION}.$(. /etc/os-release && echo $VERSION_CODENAME)_all.deb"
sudo dpkg -i /tmp/ros2-apt-source.deb
Install development tools and ROS 2 Desktop:
sudo apt update && sudo apt install -y ros-dev-tools
sudo apt upgrade -y
sudo apt install -y ros-kilted-desktop
Install additional packages:
sudo apt install -y openssh-server \
    ros-kilted-depthai ros-kilted-depthai-ros ros-kilted-depthai-ros-driver ros-kilted-depthai-bridge \
    ros-kilted-slam-toolbox \
    ros-kilted-rmw-zenoh-cpp ros-kilted-zenoh-cpp-vendor \
    ros-kilted-tf2-ros ros-kilted-tf2-py ros-kilted-tf2-tools \
    ros-kilted-irobot-create-msgs
—
Mapping
Verify that both the laptop and the Raspberry Pi can see the iCreate3 topics:
ros2 topic list
You should see topics such as
/odom,/tf,/tf_static,/battery_stateand others published by the base.Publish a static transform from the base to the laser:
ros2 run tf2_ros static_transform_publisher \
  --x 0.02 --z 0.22 --yaw 3.14 \
  --frame-id base_link --child-frame-id laser
Keep this process running during mapping and navigation.
Start the laser driver:
ros2 launch sllidar_ros2 sllidar_s2_launch.py
Place the robot at the desired origin (
0, 0) and start SLAM Toolbox:ros2 launch slam_toolbox online_async_launch.py
On the laptop, open RViz2:
rviz2
Start teleoperation to drive the robot while mapping:
ros2 run teleop_twist_keyboard teleop_twist_keyboard
When the map is complete, save it:
ros2 service call /slam_toolbox/save_map slam_toolbox/srv/SaveMap
Store the generated
.yamland image file (.pgm/.png) under~/easynav_ws/src/my_robot_easynav/maps, and build the workspace again. If you rename the map, ensure the YAML’s image field matches.
Tip
To reset the odom → base_footprint transform on iCreate3, call:
ros2 service call /reset_pose irobot_create_msgs/srv/ResetPose
—
Notes
In the maps manager, filter plugin types must match the full class names:
easynav_costmap_maps_manager/CostmapMapsManager/ObstaclesFilterandeasynav_costmap_maps_manager/CostmapMapsManager/InflationFilter.The Costmap Planner supports parameters such as
cost_factor,inflation_penalty,heuristic_scaleandcontinuous_replan. Adjust these values to fine-tune planning behavior for your environment.